 🚀 *Gen AI Engineer (Production Focused)*
 ✂️ How to Split MP4 Files in CMD or PowerShell
Need to split a video quickly without losing quality? The best approach is using FFmpeg directly from your command line.
🛠️ Prerequisites
You will need FFmpeg installed on your system. If you don’t have it yet, you can install it instantly via PowerShell using the Windows Package Manager:
PowerShell
winget install ffmpeg
💻 The Commands
Open your terminal in the folder containing your video (input.mp4). For this example, we will split the video exactly at the 15-minute and 30-second mark (00:15:30).
1️⃣ Part 1: Beginning to the Split Point
DOS
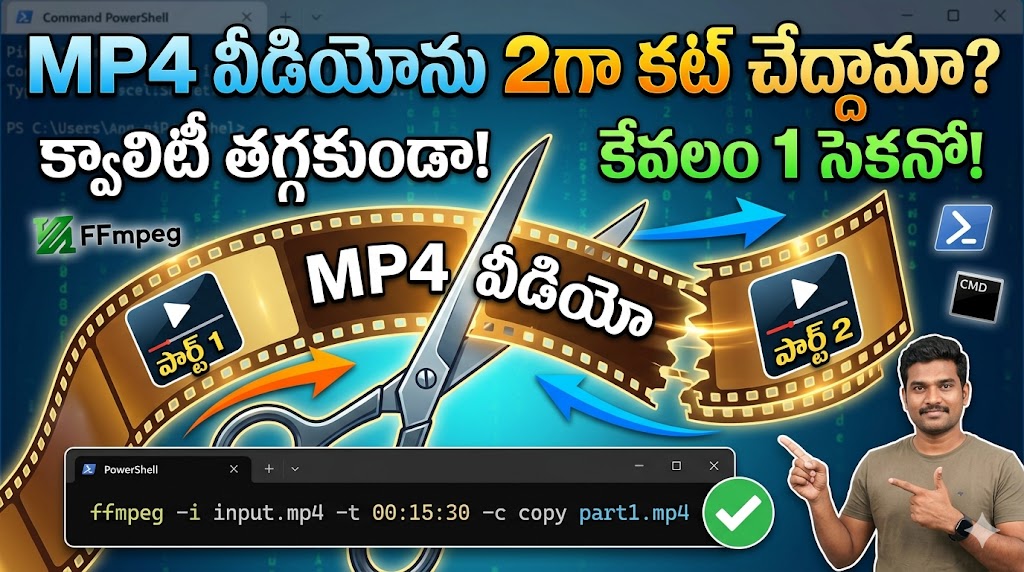
ffmpeg -i input.mp4 -t 00:15:30 -c copy part1.mp4
2️⃣ Part 2: Split Point to the End
DOS
ffmpeg -ss 00:15:30 -i input.mp4 -c copy part2.mp4

ffmpeg -i your_video.mp4 -c copy -map 0 -segment_time 900 -f segment -reset_timestamps 1 "output_part_%03d.mp4"
🔍 Parameter Breakdown
Here is exactly what the command line is doing under the hood:
- 📁
-i input.mp4: Specifies the target input file you are splitting. - ⏱️
-t 00:15:30: Tells FFmpeg the exact duration to capture (extracts the first 15m:30s). - ⏩
-ss 00:15:30: Sets the start time. Placing-ssbefore the-iflag forces FFmpeg to fast-seek to that exact timestamp instantly. - ⚡
-c copy: The magic flag. It copies the raw video and audio streams directly without re-encoding them.
🚀 Why Use This Method?
Because of the -c copy parameter, the export process happens in seconds rather than hours. Your output files (part1.mp4 and part2.mp4) will have zero loss in visual or audio quality compared to the original source file.
✂️ CMD లేదా PowerShell ఉపయోగించి MP4 ఫైళ్ళను ఎలా కట్ (Split) చేయాలి
క్వాలిటీ తగ్గకుండా ఒక వీడియోను వేగంగా కట్ చేయాలనుకుంటున్నారా? కమాండ్ లైన్ ద్వారా నేరుగా FFmpeg ని ఉపయోగించడం ఉత్తమ మార్గం.
🛠️ కావలసినవి
మీ సిస్టమ్లో FFmpeg ఇన్స్టాల్ చేసి ఉండాలి. ఒకవేళ లేకపోతే, Windows Package Manager ఉపయోగించి PowerShell ద్వారా వెంటనే ఇన్స్టాల్ చేసుకోవచ్చు:
PowerShell
winget install ffmpeg
💻 కమాండ్స్
మీ వీడియో (input.mp4) ఉన్న ఫోల్డర్లో మీ టెర్మినల్ ఓపెన్ చేయండి. ఉదాహరణకు, మనం వీడియోను సరిగ్గా 15 నిమిషాల 30 సెకన్ల వద్ద (00:15:30) కట్ చేద్దాం అనుకుందాం.
1️⃣ పార్ట్ 1: ప్రారంభం నుండి కట్ చేసే సమయం వరకు
DOS
ffmpeg -i input.mp4 -t 00:15:30 -c copy part1.mp4
2️⃣ పార్ట్ 2: కట్ చేసిన సమయం నుండి వీడియో చివర వరకు
DOS
ffmpeg -ss 00:15:30 -i input.mp4 -c copy part2.mp4
🔍 పెరామీటర్ల వివరణ
ఈ కమాండ్స్ అసలు ఎలా పనిచేస్తాయో ఇక్కడ చూద్దాం:
- 📁
-i input.mp4: మీరు కట్ చేయాలనుకుంటున్న వీడియో ఫైల్ను సూచిస్తుంది. - ⏱️
-t 00:15:30: ఎంత వ్యవధి వరకు వీడియోను తీసుకోవాలో FFmpeg కి చెబుతుంది (మొదటి 15 నిమిషాల 30 సెకన్లను వేరుచేస్తుంది). - ⏩
-ss 00:15:30: వీడియో ప్రారంభ సమయాన్ని సెట్ చేస్తుంది.-iకి ముందు-ssఉంచడం ద్వారా, FFmpeg ఆ సమయానికి వేగంగా (fast-seek) చేరుకుంటుంది. - ⚡
-c copy: ఇది ఒక మ్యాజిక్ కమాండ్. ఇది వీడియో మరియు ఆడియో స్ట్రీమ్లను రీ-ఎన్కోడ్ చేయకుండా పాత ఫైల్ నుండి నేరుగా కాపీ చేస్తుంది.
🚀 ఈ పద్ధతిని ఎందుకు ఉపయోగించాలి?
-c copy అనే పెరామీటర్ వాడటం వల్ల, ఎగుమతి (export) ప్రక్రియ గంటలకు బదులుగా కేవలం సెకన్లలో పూర్తవుతుంది. మీ అవుట్పుట్ ఫైల్స్ (part1.mp4 మరియు part2.mp4) ఒరిజినల్ వీడియోతో పోలిస్తే వీడియో లేదా ఆడియో క్వాలిటీలో ఎలాంటి మార్పు ఉండదు.