🚀 *Gen AI Engineer (Production Focused)*
 💡 What is QML?
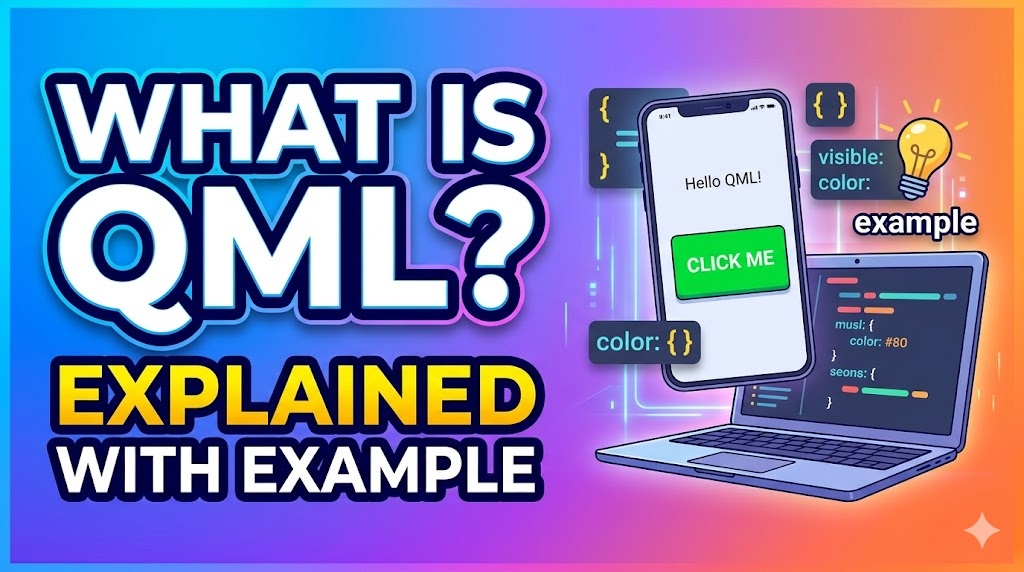
QML (Qt Modeling Language) is a declarative markup language used primarily for designing user interfaces. It is a core part of the Qt framework, a popular toolkit used to build cross-platform applications 📱🖥️ (desktop, mobile, and embedded systems).
🧩 The Concept: Think of QML as a hybrid between JSON and CSS, but with the ability to embed JavaScript directly into it for handling logic. Instead of writing hundreds of lines of complex C++ code to build a graphical interface, QML allows you to describe what the UI should look like in a highly readable, hierarchical format.
⭐ Key Characteristics of QML
- 🎯 Declarative: You describe the final state of the UI (e.g., “I want a red rectangle with text inside”) rather than the step-by-step programming instructions to draw it.
- 🔗 Property Binding: If you link a property (like the width of a box) to a variable, the UI will automatically update 🔄 whenever that variable changes.
- ⚡ JavaScript Integration: You can write standard JavaScript functions right inside QML to handle interactive elements like button clicks or animations.
💻 A Simple QML Example
Here is a basic example of a QML application that creates a window, sets a background color, displays some text, and includes a clickable button.
import QtQuick 2.15
import QtQuick.Controls 2.15

ApplicationWindow {
    visible: true
    width: 400
    height: 300
    title: "My First QML App"

    // The main background area
    Rectangle {
        anchors.fill: parent
        color: "lightblue"

        // Centered text
        Text {
            anchors.centerIn: parent
            text: "Hello, QML!"
            font.pixelSize: 24
            color: "darkblue"
        }

        // A button at the bottom
        Button {
            text: "Click Me"
            anchors.bottom: parent.bottom
            anchors.horizontalCenter: parent.horizontalCenter
            anchors.bottomMargin: 20

            // JavaScript logic for the click event
            onClicked: {
                console.log("The button was clicked!")
            }
        }
    }
}
🔍 Breaking Down the Example
- 📦
importstatements: These pull in the necessary Qt libraries.QtQuickprovides the basic visual elements (likeRectangleandText), andQtQuick.Controlsprovides pre-built UI components (likeButton). - 🧱 Objects (
ApplicationWindow,Rectangle,Text): Every block in QML is an object. They are nested inside one another to create a hierarchy. TheRectangleis a child of theApplicationWindow. - ⚙️ Properties (
width,color,text): Inside the curly braces{}, you define the properties of that specific object. - ⚓ Anchors (
anchors.centerIn,anchors.bottom): QML uses an anchoring system for layout. Instead of giving exact X and Y coordinates, you tell elements to anchor themselves relative to theirparentor sibling objects. - 📡 Signals and Handlers (
onClicked): When an event happens (a signal), a handler reacts to it. Here,onClickedexecutes a small piece of JavaScript to log a message to the console.
💡 QML అంటే ఏమిటి?
QML (Qt Modeling Language – క్యూటి మోడలింగ్ లాంగ్వేజ్) అనేది ప్రధానంగా యూజర్ ఇంటర్ఫేస్లను (UI) డిజైన్ చేయడానికి ఉపయోగించే డిక్లరేటివ్ మార్కప్ లాంగ్వేజ్. ఇది క్రాస్-ప్లాట్ఫారమ్ అప్లికేషన్లను 📱🖥️ (డెస్క్టాప్, మొబైల్ మరియు ఎంబెడెడ్ సిస్టమ్లు) రూపొందించడానికి ఉపయోగించే ప్రసిద్ధ టూల్కిట్ అయిన Qt ఫ్రేమ్వర్క్లో ప్రధాన భాగం.
🧩 భావన: QMLని JSON మరియు CSSల కలయికగా భావించవచ్చు, అయితే లాజిక్ని నిర్వహించడానికి దీనిలో నేరుగా జావాస్క్రిప్ట్ (JavaScript)ను పొందుపరచే సామర్థ్యం ఉంటుంది. గ్రాఫికల్ ఇంటర్ఫేస్ను రూపొందించడానికి వందల కొద్దీ సంక్లిష్టమైన C++ కోడ్ రాయడానికి బదులుగా, UI ఎలా ఉండాలో అత్యంత సులభంగా అర్థమయ్యేలా, క్రమానుగత ఆకృతిలో (hierarchical format) వివరించడానికి QML మిమ్మల్ని అనుమతిస్తుంది.
⭐ QML యొక్క ముఖ్య లక్షణాలు
- 🎯 డిక్లరేటివ్ (Declarative): UIని గీయడానికి దశలవారీ ప్రోగ్రామింగ్ సూచనలు ఇచ్చే బదులు, UI యొక్క తుది స్థితి ఎలా ఉండాలో (ఉదాహరణకు, “నాకు లోపల టెక్స్ట్ ఉన్న ఎర్రటి దీర్ఘచతురస్రం కావాలి” అని) మీరు వివరిస్తారు.
- 🔗 ప్రాపర్టీ బైండింగ్ (Property Binding): మీరు ఒక ప్రాపర్టీని (బాక్స్ వెడల్పు లాంటిది) ఒక వేరియబుల్కి లింక్ చేస్తే, ఆ వేరియబుల్ మారినప్పుడల్లా UI ఆటోమేటిక్గా అప్డేట్ అవుతుంది 🔄.
- ⚡ జావాస్క్రిప్ట్ ఇంటిగ్రేషన్ (JavaScript Integration): బటన్ క్లిక్లు లేదా యానిమేషన్ల వంటి వాటిని నిర్వహించడానికి మీరు QML లోపలే నేరుగా ప్రామాణిక జావాస్క్రిప్ట్ ఫంక్షన్లను రాయవచ్చు.
💻 ఒక సాధారణ QML ఉదాహరణ
ఒక విండోను సృష్టించి, బ్యాక్గ్రౌండ్ రంగును సెట్ చేసి, కొంత టెక్స్ట్ని ప్రదర్శించి, క్లిక్ చేయగల బటన్ను కలిగి ఉండే QML అప్లికేషన్ యొక్క ప్రాథమిక ఉదాహరణ ఇక్కడ ఉంది.
QML
import QtQuick 2.15
import QtQuick.Controls 2.15
ApplicationWindow {
visible: true
width: 400
height: 300
title: "My First QML App"
// ప్రధాన బ్యాక్గ్రౌండ్ ప్రాంతం
Rectangle {
anchors.fill: parent
color: "lightblue"
// మధ్యలో ఉన్న టెక్స్ట్
Text {
anchors.centerIn: parent
text: "Hello, QML!"
font.pixelSize: 24
color: "darkblue"
}
// దిగువన ఒక బటన్
Button {
text: "Click Me"
anchors.bottom: parent.bottom
anchors.horizontalCenter: parent.horizontalCenter
anchors.bottomMargin: 20
// క్లిక్ ఈవెంట్ కోసం జావాస్క్రిప్ట్ లాజిక్
onClicked: {
console.log("The button was clicked!")
}
}
}
}
🔍 ఉదాహరణ విశ్లేషణ
- 📦
importస్టేట్మెంట్లు: ఇవి అవసరమైన Qt లైబ్రరీలను తీసుకువస్తాయి.QtQuickప్రాథమిక దృశ్య అంశాలను (RectangleమరియుTextవంటివి) అందిస్తుంది, మరియుQtQuick.Controlsముందే నిర్మించిన UI భాగాలను (Buttonవంటివి) అందిస్తుంది. - 🧱 ఆబ్జెక్ట్లు (
ApplicationWindow,Rectangle,Text): QMLలోని ప్రతి బ్లాక్ ఒక ఆబ్జెక్ట్. ఒకదానికొకటి లోపల ఉంచడం ద్వారా ఒక క్రమానుగత నిర్మాణాన్ని (hierarchy) ఏర్పరుస్తాయి. ఇక్కడRectangleఅనేదిApplicationWindowయొక్క చైల్డ్. - ⚙️ ప్రాపర్టీలు (
width,color,text): వంకర కుండలీకరణాల{}లోపల, మీరు ఆ నిర్దిష్ట ఆబ్జెక్ట్ యొక్క ప్రాపర్టీలను (లక్షణాలను) నిర్వచిస్తారు. - ⚓ యాంకర్లు (
anchors.centerIn,anchors.bottom): లేఅవుట్ కోసం QML యాంకరింగ్ సిస్టమ్ను ఉపయోగిస్తుంది. కచ్చితమైన X మరియు Y కోఆర్డినేట్లను ఇవ్వడానికి బదులుగా, వాటి పేరెంట్ (parent) లేదా తోబుట్టువుల (sibling) ఆబ్జెక్ట్లకు సాపేక్షంగా తమను తాము యాంకర్ చేసుకోమని మీరు ఎలిమెంట్స్కు చెబుతారు. - 📡 సిగ్నల్స్ మరియు హ్యాండ్లర్స్ (
onClicked): ఒక ఈవెంట్ జరిగినప్పుడు (ఒక సిగ్నల్), దానికి ఒక హ్యాండ్లర్ స్పందిస్తుంది. ఇక్కడ, కన్సోల్కు మెసేజ్ లాగ్ చేయడానికిonClickedఒక చిన్న జావాస్క్రిప్ట్ను ఎగ్జిక్యూట్ చేస్తుంది.